
Unlock The Power Of Raspberry Pi Kodi: Your Ultimate Media Hub
So, you're here because you want to know how Raspberry Pi Kodi can turn your living room into an entertainment paradise, right? Let's dive straight into it. If you're looking to set up a media center that's affordable, flexible, and downright awesome, Raspberry Pi Kodi might just be your ticket to movie nights and binge-watching glory. Imagine streaming your favorite shows, movies, and music without breaking the bank. Sounds good? Let's get started.
Now, before we jump into the nitty-gritty, let's talk about why this setup is worth your time. Raspberry Pi is not just a tiny computer; it's a game-changer for tech enthusiasts who want to explore the world of home entertainment. Pair it with Kodi, and you've got a powerhouse combo that can handle everything from Netflix to live sports. Trust me, once you set this up, you won't look back.
And hey, don't worry if you're new to this whole Raspberry Pi Kodi thing. I've got you covered with step-by-step guides, tips, and tricks to make sure you're set up for success. By the end of this article, you'll be ready to rock your media center like a pro. So, grab your Pi, and let's get this party started!
- Vegamovies Explored Showtimes Tickets And Safe Alternatives
- Free Movie Downloads Filmywap 300mb Hub Legal Options
Here's a quick roadmap of what we're going to cover:
- What is Raspberry Pi Kodi?
- Why should you use Raspberry Pi Kodi?
- How to set up Raspberry Pi Kodi
- Troubleshooting common issues
- Best Kodi add-ons for Raspberry Pi
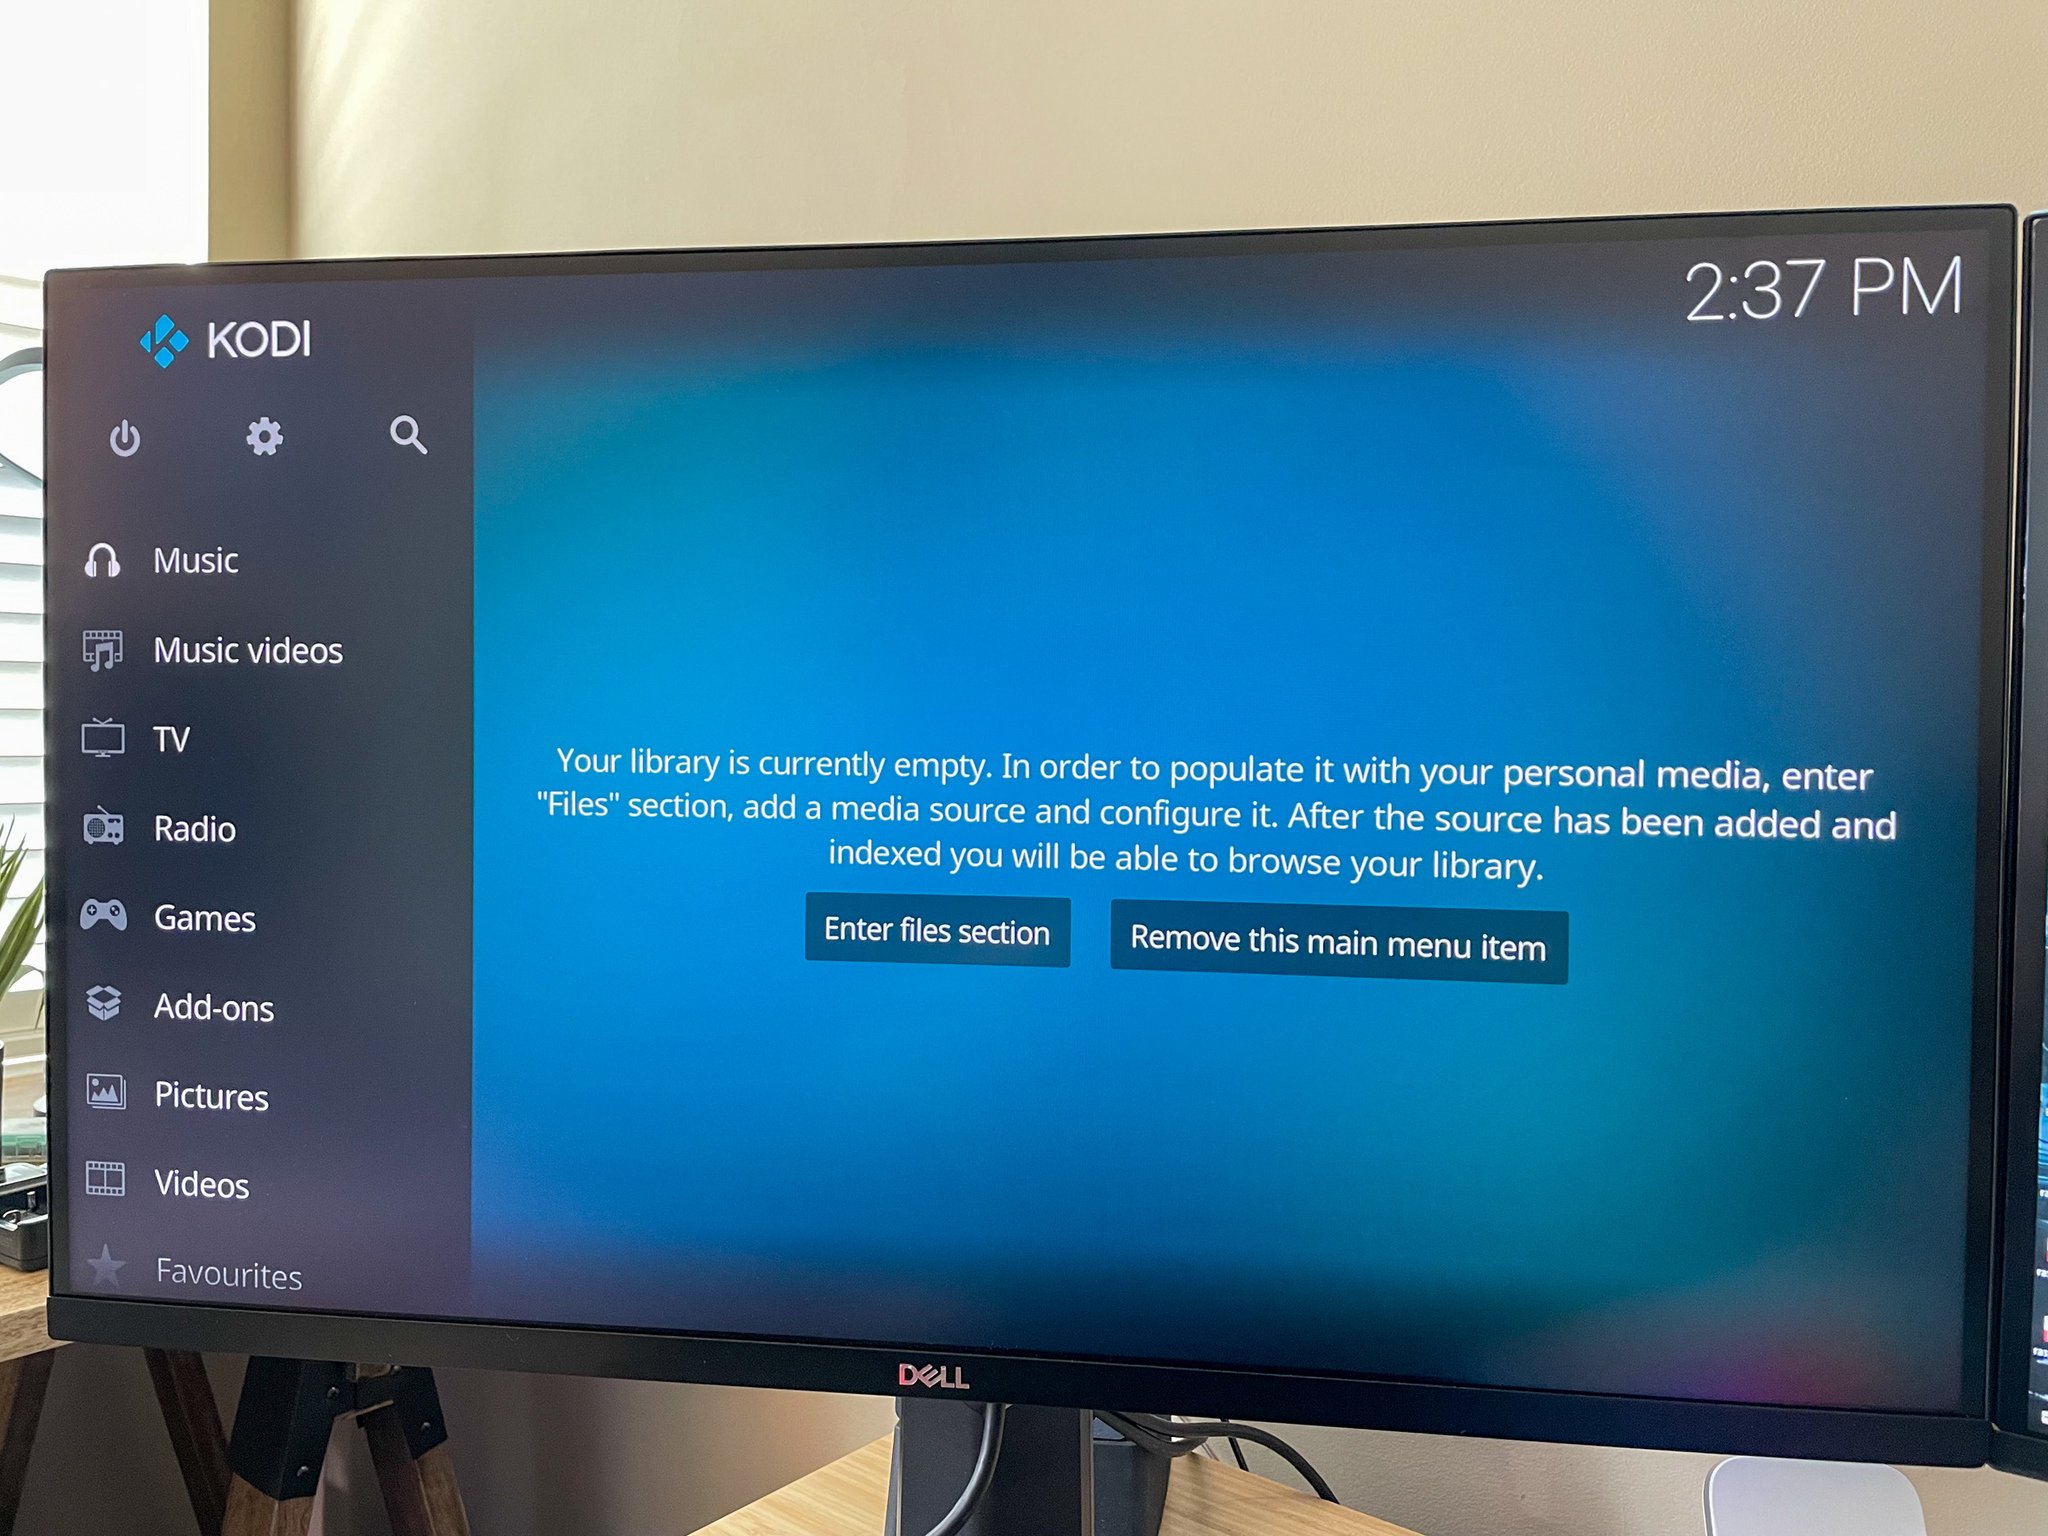
Raspberry Pi Kodi: The Ultimate Combo
First things first, let's break down what exactly Raspberry Pi Kodi is all about. Raspberry Pi is essentially a mini-computer that fits in the palm of your hand. It's lightweight, energy-efficient, and super affordable. Kodi, on the other hand, is a free and open-source media player that can stream almost anything you throw at it. When you combine these two, you get a media center that's not only powerful but also highly customizable.
Why Choose Raspberry Pi?
Raspberry Pi isn't just a hobbyist's toy; it's a serious piece of hardware that can handle a lot more than you'd expect. Here's why it's such a great choice for setting up Kodi:
- Kannada Movies 2025 Find Legal Streaming Options No Movierulz
- Watch Telugu Movies Online Zee5 Movierulz Alternatives 2025
- Affordability: You can get a Raspberry Pi for under $50, which is a steal compared to other media players on the market.
- Flexibility: Raspberry Pi isn't just for Kodi. You can use it for a ton of other projects, from retro gaming to home automation.
- Community Support: There's a massive community of Raspberry Pi enthusiasts who are always ready to help you out if you run into any issues.
Why Should You Use Raspberry Pi Kodi?
So, why should you bother setting up Raspberry Pi Kodi when there are plenty of other media players out there? Well, let me tell you, there are some pretty compelling reasons:
Cost-Effective Solution
Let's face it, most media players on the market can be pretty pricey. With Raspberry Pi Kodi, you're getting top-notch performance at a fraction of the cost. Plus, once you've got your Pi set up, you can use it for a ton of other cool projects. It's like getting two devices in one!
Customization Galore
One of the best things about Kodi is how customizable it is. You can tweak everything from the interface to the add-ons you use. With Raspberry Pi, you've got even more freedom to experiment and make your media center truly unique.
Energy Efficiency
Raspberry Pi is designed to be energy-efficient, which means it won't eat up your electricity bill like some other devices might. It's a win-win for both your wallet and the environment.
How to Set Up Raspberry Pi Kodi
Setting up Raspberry Pi Kodi might sound intimidating, but trust me, it's easier than you think. Here's a step-by-step guide to help you get started:
What You'll Need
- Raspberry Pi (preferably the latest model)
- MicroSD card (at least 16GB)
- HDMI cable
- Power supply
- Keyboard and mouse
Step 1: Download the OS
The first thing you need to do is download the operating system for your Raspberry Pi. For Kodi, you'll want to grab the official Kodi image from the Raspberry Pi website. Once you've got the image, use a tool like BalenaEtcher to flash it onto your microSD card.
Step 2: Boot Up Your Pi
With the OS on your microSD card, it's time to boot up your Raspberry Pi. Stick the card into your Pi, connect it to your TV or monitor using the HDMI cable, and power it up. You should see Kodi load up in no time.
Step 3: Customize Your Setup
Now that Kodi is up and running, it's time to make it your own. You can change the skin, add your favorite add-ons, and tweak the settings to your heart's content. Don't be afraid to experiment and see what works best for you.
Troubleshooting Common Issues
Even the best setups can run into problems from time to time. Here are a few common issues you might encounter with Raspberry Pi Kodi and how to fix them:
Slow Performance
If you're noticing that your Raspberry Pi Kodi setup is a bit sluggish, there are a few things you can try. First, make sure your microSD card isn't too full. Clearing out some space can work wonders. You might also want to consider upgrading to a faster card if you're using an older one.
Connection Issues
Can't seem to connect to your network? Double-check your Wi-Fi settings and make sure your Pi is properly connected. If you're still having trouble, try using an Ethernet cable instead. Sometimes, a wired connection can be more reliable than Wi-Fi.
Best Kodi Add-ons for Raspberry Pi
One of the coolest things about Kodi is the vast array of add-ons available. Here are a few of my favorites that work great with Raspberry Pi:
Official Kodi Add-ons
Stick to the official add-ons whenever possible. They're safe, reliable, and regularly updated. Some of my go-to official add-ons include:
- YouTube
- Spotify
- Plex
Third-Party Add-ons
If you're feeling adventurous, there are plenty of third-party add-ons out there that can expand your Kodi experience. Just be sure to do your research and only install add-ons from trusted sources.
Optimizing Your Raspberry Pi Kodi Setup
Once you've got everything up and running, there are a few tweaks you can make to optimize your Raspberry Pi Kodi setup:
Update Regularly
Keeping your software up to date is crucial for performance and security. Make sure you're regularly updating both your Raspberry Pi OS and Kodi.
Use a Fast MicroSD Card
Your microSD card is the heart of your Raspberry Pi. Using a fast, high-quality card can make a huge difference in performance.
Conclusion: Your Raspberry Pi Kodi Journey
And there you have it, folks! Raspberry Pi Kodi is an incredible way to turn your living room into an entertainment haven. With its affordability, flexibility, and community support, it's a no-brainer for anyone looking to set up a media center. Remember, the key to a successful setup is experimentation and customization. Don't be afraid to try new things and make your Raspberry Pi Kodi experience your own.
So, what are you waiting for? Grab your Raspberry Pi, download Kodi, and get ready to enjoy some seriously awesome media streaming. And hey, if you've got any questions or need a hand, drop a comment below. I'd love to hear from you!
Article Recommendations
- Kpop Deepfake Crackdown Agencies Fight Back Against Illegal Videos
- Latest Buzz New Telugu Movies On Movierulz Whats Trending


Detail Author:
- Name : Mr. Herman Huel
- Username : eva.bartoletti
- Email : aylin.steuber@cummerata.com
- Birthdate : 1973-06-30
- Address : 9983 Hollie Pines Willland, DC 53881-1961
- Phone : +1-442-829-9168
- Company : Boyle, Smith and Kuphal
- Job : Ceiling Tile Installer
- Bio : Neque natus qui nesciunt omnis. Consequatur at temporibus et voluptate magnam qui. Quidem harum eos fugit quasi. Voluptatem in fugiat in non recusandae eos dolorem.
Socials
facebook:
- url : https://facebook.com/carol.wisoky
- username : carol.wisoky
- bio : Ut quia numquam velit cupiditate aliquam at rerum sed.
- followers : 4551
- following : 131
linkedin:
- url : https://linkedin.com/in/carol_wisoky
- username : carol_wisoky
- bio : Occaecati asperiores blanditiis quia vitae velit.
- followers : 3757
- following : 563
tiktok:
- url : https://tiktok.com/@cwisoky
- username : cwisoky
- bio : Non et quibusdam doloremque officiis laudantium in.
- followers : 286
- following : 2149
