
Best Raspberry Pi RemoteIoT Solutions For Your Smart Projects
Hey there, tech enthusiasts! If you're looking to level up your smart projects with the best Raspberry Pi RemoteIoT setup, you're in the right place. RemoteIoT is all about connecting devices and controlling them from afar, and Raspberry Pi is the perfect companion for this adventure. Whether you're building a home automation system, a weather station, or even a remote-controlled drone, this guide will help you unlock the full potential of your Raspberry Pi for RemoteIoT applications.
Now, let's get real for a sec. The world of IoT is booming, and Raspberry Pi has become the go-to device for hobbyists and professionals alike. Its versatility, affordability, and compatibility with various sensors and modules make it an ideal choice for RemoteIoT projects. But where do you start? Don't worry, we've got you covered!
By the end of this article, you'll have all the tools and knowledge you need to create your dream Raspberry Pi RemoteIoT setup. So, grab your favorite beverage, sit back, and let's dive into the world of remote IoT magic. Trust me, this is gonna be epic!
- Kannada Movies 2025 Find The Best New Releases Now
- Vegamovies Is It Safe Legal Find Alternatives Streaming
Here's a quick table of contents to help you navigate through the article:
- Introduction to Raspberry Pi RemoteIoT
- Choosing the Best Hardware for Raspberry Pi RemoteIoT
- Essential Software for Your RemoteIoT Setup
- Setting Up Networking for RemoteIoT
- Securing Your Raspberry Pi RemoteIoT
- Top Raspberry Pi RemoteIoT Project Ideas
- Common Issues and How to Fix Them
- Optimizing Your RemoteIoT Performance
- Useful Resources for Raspberry Pi RemoteIoT
- Wrapping It All Up
Introduction to Raspberry Pi RemoteIoT
Alright, so what exactly is Raspberry Pi RemoteIoT? Simply put, it's using a Raspberry Pi to create a network of interconnected devices that can be controlled remotely. This could mean anything from turning on your living room lights with your phone to monitoring soil moisture levels in your garden. The possibilities are endless!
One of the coolest things about Raspberry Pi is that it's not just for tech wizards. Even if you're new to programming or electronics, you can still set up a basic RemoteIoT system with just a little bit of effort. Plus, there are tons of tutorials and communities out there to help you along the way.
- Kannada Movies 2025 5movierulz More Find Your Next Watch
- Movierulz Movie Download Everything You Need To Know Guide
Why Raspberry Pi?
There are a ton of reasons why Raspberry Pi is the best choice for RemoteIoT projects. First off, it's super affordable. You can get a fully functional Raspberry Pi for less than the cost of a fancy coffee machine. Second, it's incredibly versatile. With the right add-ons, you can turn it into anything from a media center to a weather station.
And let's not forget about the community. The Raspberry Pi community is one of the most active and supportive out there. Whether you're stuck on a coding issue or need advice on hardware, chances are someone's been there before and can help you out.
Choosing the Best Hardware for Raspberry Pi RemoteIoT
Picking the right hardware is crucial for a successful RemoteIoT setup. You don't want to end up with a device that can't handle the load or lacks the necessary ports for your sensors. So, let's break down the key components you'll need.
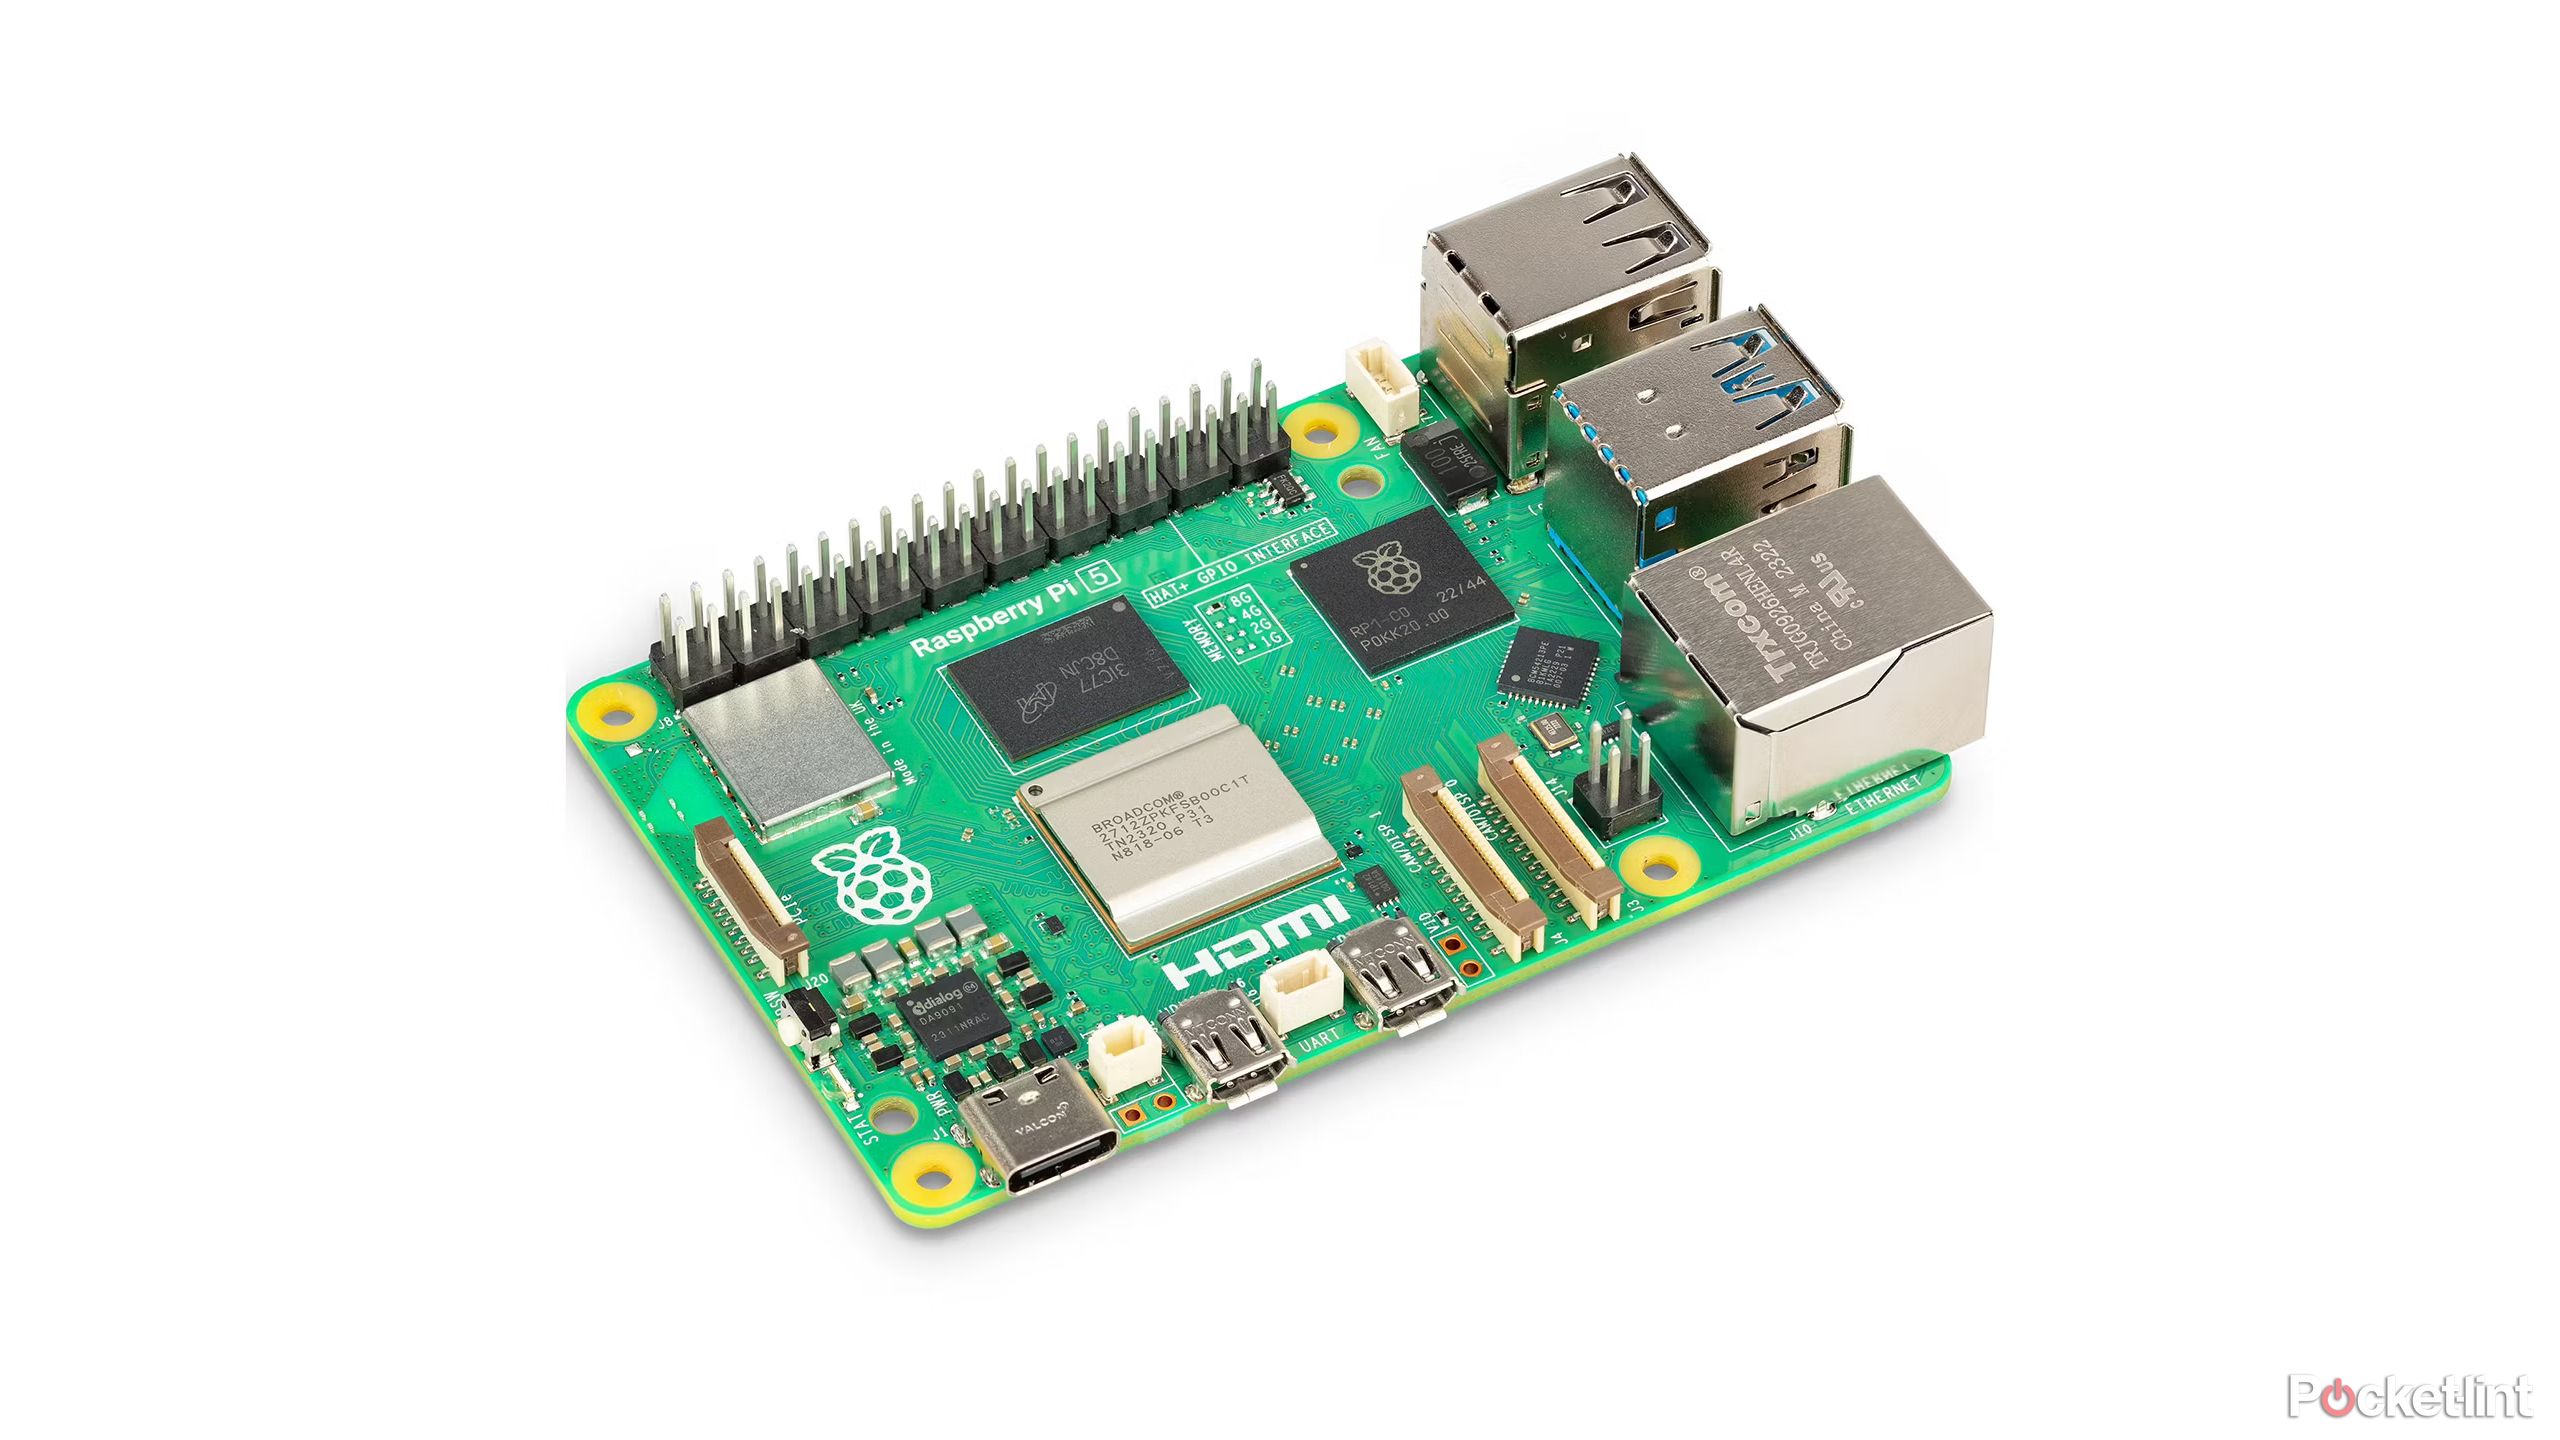
1. The Raspberry Pi Model
First things first, which Raspberry Pi model should you choose? The Raspberry Pi 4 Model B is currently the most powerful option available, with options for 2GB, 4GB, or 8GB of RAM. If you're planning on running multiple applications or need more processing power, the Pi 4 is the way to go.
However, if you're on a budget or just starting out, the Raspberry Pi 3 or Zero W might be a better fit. They're still plenty capable for most RemoteIoT projects and come at a much lower price point.
2. Power Supply
Don't skimp on the power supply! A good quality power adapter is essential for keeping your Raspberry Pi running smoothly. Make sure it can deliver enough current to power your Pi and any connected peripherals.
3. Sensors and Modules
The beauty of Raspberry Pi RemoteIoT is that you can connect all kinds of sensors and modules to it. Some popular options include:
- Temperature and humidity sensors
- Light sensors
- GPS modules
- Camera modules
- Relay boards for controlling appliances
When choosing sensors, make sure they're compatible with your Raspberry Pi model and that there are libraries or drivers available to help you integrate them into your project.
Essential Software for Your RemoteIoT Setup
Once you've got your hardware sorted, it's time to move on to the software side of things. There are several key pieces of software you'll need to get your Raspberry Pi RemoteIoT setup up and running.
1. Operating System
The first thing you'll need to do is install an operating system on your Raspberry Pi. The official Raspberry Pi OS is a great choice for most users, but there are also other options like Ubuntu Server or Raspbian Lite if you prefer a lighter setup.
2. Programming Languages
Python is by far the most popular programming language for Raspberry Pi projects, and for good reason. It's easy to learn, has tons of libraries for working with hardware, and is well-supported by the Raspberry Pi community.
That being said, don't be afraid to experiment with other languages like C++ or JavaScript if they suit your project better.
3. IoT Platforms
Using an IoT platform can simplify the process of setting up your RemoteIoT system. Some popular options include:
- Adafruit IO
- ThingSpeak
- Home Assistant
These platforms often come with built-in dashboards, data visualization tools, and APIs to help you manage your devices more easily.
Setting Up Networking for RemoteIoT
Networking is a crucial part of any RemoteIoT setup. After all, if your devices can't communicate with each other or the internet, what's the point?
1. Wi-Fi vs Ethernet
For most RemoteIoT projects, Wi-Fi is the way to go. It's convenient, wireless, and doesn't require you to run cables all over your house. However, if you need a more stable connection or are working with bandwidth-intensive applications, Ethernet might be a better choice.
2. Static IP Addresses
Assigning static IP addresses to your Raspberry Pi and other devices can make it easier to manage your network. This way, you'll always know which IP address corresponds to which device, and you won't have to worry about IP conflicts.
3. Port Forwarding
If you want to access your Raspberry Pi from outside your local network, you'll need to set up port forwarding on your router. This allows traffic from the internet to reach your Pi, enabling you to control it remotely.
Securing Your Raspberry Pi RemoteIoT
Security is a big deal when it comes to RemoteIoT. After all, you don't want someone hacking into your smart home and turning off your air conditioning in the middle of summer. Here are a few tips to keep your setup secure:
1. Use Strong Passwords
This one might seem obvious, but it's worth repeating. Always use strong, unique passwords for your Raspberry Pi and any connected devices. Avoid using default passwords like "raspberry" or "password" – trust me, it's not worth the risk.
2. Enable SSH
SSH (Secure Shell) allows you to remotely access your Raspberry Pi over the network. Just make sure to disable password-based authentication and use SSH keys instead for added security.
3. Keep Your Software Updated
Regularly updating your operating system and installed software can help protect against vulnerabilities and exploits. Set up automatic updates if possible, so you don't have to worry about missing a critical patch.
Top Raspberry Pi RemoteIoT Project Ideas
Now that you've got the basics down, let's talk about some cool project ideas to get your creative juices flowing.
1. Smart Home Automation
Create a system to control your lights, thermostat, and other appliances from your phone or voice assistant. You can even integrate it with popular platforms like Amazon Alexa or Google Assistant.
2. Weather Station
Set up a weather station to monitor temperature, humidity, wind speed, and other environmental factors. Use the data to create custom alerts or integrate it into a weather dashboard.
3. Security Camera System
Turn your Raspberry Pi into a security camera that can detect motion, record video, and send notifications to your phone. Add facial recognition for an extra layer of security.
Common Issues and How to Fix Them
Even the best-laid plans can go awry sometimes. Here are a few common issues you might encounter with your Raspberry Pi RemoteIoT setup and how to fix them:
1. Connectivity Problems
If you're having trouble connecting to your Raspberry Pi over the network, check your Wi-Fi settings, IP address, and firewall rules. Make sure port forwarding is set up correctly if you're accessing it from outside your local network.
2. Sensor Malfunctions
Sometimes sensors can stop working due to loose connections or faulty wiring. Double-check your connections and make sure the sensor is properly powered. If the problem persists, try replacing the sensor with a new one.
Optimizing Your RemoteIoT Performance
Once your Raspberry Pi RemoteIoT setup is up and running, there are a few things you can do to optimize its performance:
1. Use a Swap File
If you're running out of RAM, consider setting up a swap file to use disk space as virtual memory. This can help prevent crashes and improve stability, especially if you're running multiple applications.
2. Disable Unnecessary Services
By default, Raspberry Pi OS comes with a bunch of services that you might not need for your RemoteIoT setup. Disable these to free up resources and improve performance.
Useful Resources for Raspberry Pi RemoteIoT
Here are a few resources to help you on your Raspberry Pi RemoteIoT journey:
Wrapping It All Up
And there you have it, folks! A comprehensive guide to setting up the best Raspberry Pi RemoteIoT system for your smart projects. Remember, the key to success is experimenting, learning, and having fun along the way.
So, what are you waiting for? Get out there and start building your dream RemoteIoT setup. And when you're done, don't forget to share your project with the world. Who knows, you might just inspire someone else to take the plunge into the wonderful world of Raspberry Pi RemoteIoT!
Until next time, keep tinkering and stay awesome!
Article Recommendations
- Latest Buzz New Telugu Movies On Movierulz Whats Trending
- Stream Movies Shows Netflix Movierulz More 2024 Guide

Detail Author:
- Name : Mr. Adan Runte
- Username : wdietrich
- Email : jonathon.reilly@hotmail.com
- Birthdate : 1975-11-09
- Address : 3983 Arvid Shores Kutchville, IL 24572
- Phone : +1 (954) 598-9599
- Company : Prohaska LLC
- Job : Carver
- Bio : Possimus et ut suscipit. Suscipit quasi dolorem asperiores maxime ut est consequatur. Qui officiis qui quae veniam saepe laudantium repellat nostrum. Iusto placeat id quis accusamus aut repellat.
Socials
twitter:
- url : https://twitter.com/cathrine.blanda
- username : cathrine.blanda
- bio : Veniam enim quis iste est ea beatae optio. Aut qui tempora non modi rem aut ad.
- followers : 5125
- following : 2163
facebook:
- url : https://facebook.com/blandac
- username : blandac
- bio : Reprehenderit provident est quia non.
- followers : 1272
- following : 629
