
Raspberry Pi RemoteIoT Tutorial: Your Ultimate Guide To Smart Solutions
Imagine this—you’re sitting comfortably in your living room, sipping coffee, and suddenly you realize you left the garage door open. What if you could close it with just a tap on your phone? Enter Raspberry Pi RemoteIoT, the tech-savvy wizard that makes this possible! Whether you're a DIY enthusiast or a tech pro, Raspberry Pi RemoteIoT is your gateway to creating smart, connected devices that simplify life. But where do you start? Let’s dive in!
Before we jump into the nitty-gritty, let’s talk about why Raspberry Pi RemoteIoT is making waves in the tech world. This tiny yet powerful device has become a favorite among hobbyists and professionals alike because it allows you to control and monitor things remotely. From home automation to industrial applications, the possibilities are endless.
In this guide, we’ll walk you through everything you need to know about Raspberry Pi RemoteIoT. We’ll cover setup, troubleshooting, project ideas, and more. So grab your favorite beverage, get comfy, and let’s explore how you can turn your ideas into reality!
- Kannada Movies Watch Online Legally Safely Updated
- Movierulz Watch Latest Telugu Kannada Movies Online 2025 Guide
Table of Contents
- What is Raspberry Pi?
- Raspberry Pi RemoteIoT Basics
- Setup Guide for Raspberry Pi RemoteIoT
- Connecting Devices with Raspberry Pi
- Project Ideas for Raspberry Pi RemoteIoT
- Troubleshooting Common Issues
- Security Tips for Your RemoteIoT Projects
- Expanding the Capabilities of Your Raspberry Pi
- Industry Uses of Raspberry Pi RemoteIoT
- Conclusion: Your Next Steps
What is Raspberry Pi?
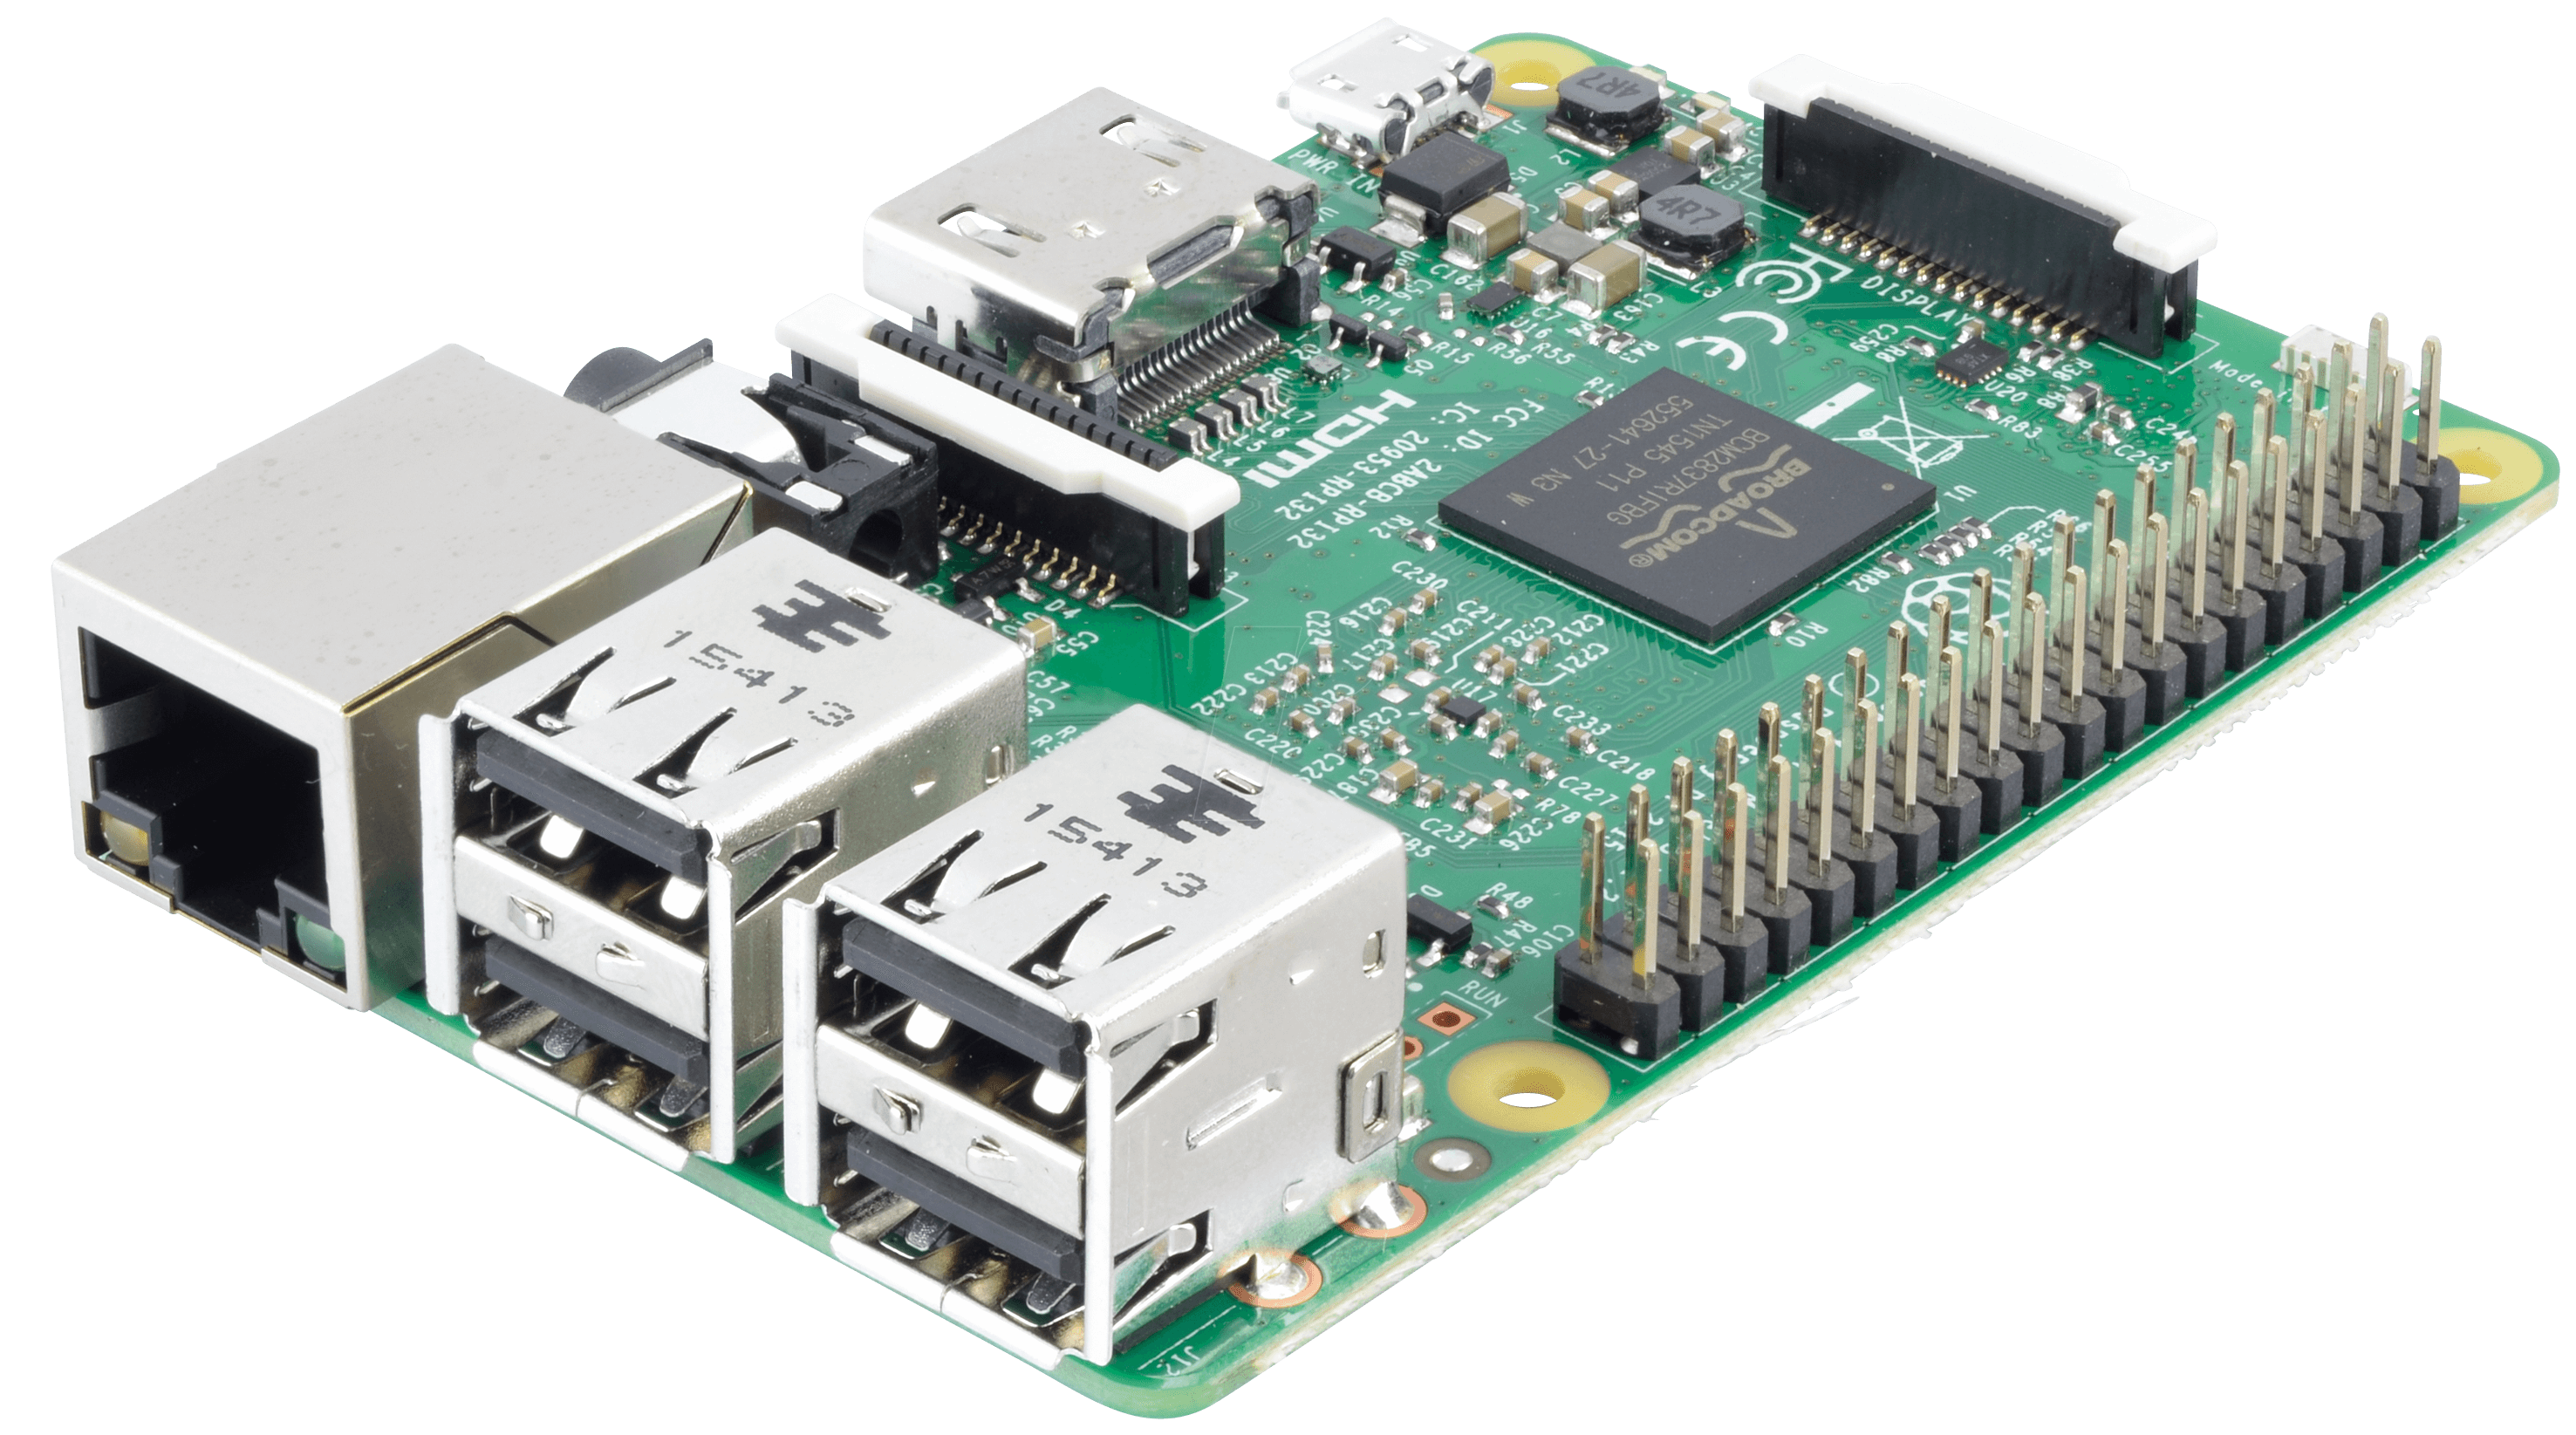
Alright, let’s start with the basics. Raspberry Pi is not just a cool name—it’s a compact, affordable computer that can do some pretty amazing things. Think of it as a mini PC that fits in the palm of your hand. It’s super versatile and can be used for everything from home automation to robotics. And here’s the kicker—it’s open-source, meaning you can tinker with it to your heart’s content.
Why Choose Raspberry Pi?
There are tons of reasons why Raspberry Pi stands out in the world of single-board computers. Here are a few:
- Affordability: You can get a Raspberry Pi for less than the price of a fancy coffee.
- Community Support: There’s a massive community of makers and developers who share knowledge and resources.
- Flexibility: Want to build a weather station? A smart mirror? A media center? Raspberry Pi’s got you covered.
But hey, don’t just take our word for it. According to a report by the Raspberry Pi Foundation, over 40 million units have been sold worldwide. That’s a lot of happy makers!
- Find Watch New Movies 20242025 Bollywood Telugu More
- Unveiled The Most Erotic Movies Celebrity Picks You Need To See
Raspberry Pi RemoteIoT Basics
Now that you know what Raspberry Pi is, let’s talk about RemoteIoT. RemoteIoT stands for Remote Internet of Things, and it’s all about connecting devices and controlling them from afar. With Raspberry Pi RemoteIoT, you can create a network of smart devices that communicate with each other and with you.
How Does It Work?
Here’s the deal: Raspberry Pi acts as the brain of your IoT setup. You connect sensors, actuators, and other devices to it, and then use software to control them remotely. For example, you could set up a Raspberry Pi to monitor the temperature in your greenhouse and automatically adjust the watering system based on the readings.
And guess what? You don’t need to be a coding wizard to get started. There are plenty of user-friendly tools and libraries that make it easy to program your Raspberry Pi for RemoteIoT projects.
Setup Guide for Raspberry Pi RemoteIoT
Ready to get your hands dirty? Let’s walk through the setup process step by step. Don’t worry if you’re new to this—it’s easier than you think.
What You’ll Need
Before we begin, make sure you have the following:
- Raspberry Pi (any model will do)
- MicroSD card with Raspberry Pi OS installed
- Power supply
- Wi-Fi or Ethernet connection
- Optional: sensors, actuators, and other IoT devices
Step 1: Install Raspberry Pi OS
First things first, you need to install the operating system. Head over to the Raspberry Pi website, download Raspberry Pi OS, and follow the instructions to flash it onto your microSD card. Trust me, it’s a breeze.
Step 2: Connect to Wi-Fi
Once your Raspberry Pi is up and running, connect it to your Wi-Fi network. You can do this through the desktop interface or via the command line if you’re feeling adventurous.
Step 3: Enable SSH
SSH (Secure Shell) lets you control your Raspberry Pi remotely. To enable it, open the terminal and type:
sudo raspi-config
Then navigate to Interfacing Options > SSH and hit Enter. Simple, right?
Connecting Devices with Raspberry Pi
Now that your Raspberry Pi is all set up, it’s time to connect some devices. Whether you’re hooking up sensors, motors, or cameras, the process is pretty straightforward.
Popular Devices for Raspberry Pi RemoteIoT
Here are some devices you might want to consider:
- DHT22 Temperature and Humidity Sensor: Perfect for monitoring environmental conditions.
- Relay Module: Use this to control high-voltage devices like lights or fans.
- PIR Motion Sensor: Ideal for detecting movement and triggering actions.
Pro tip: Always check the compatibility of your devices with your Raspberry Pi model to avoid headaches later on.
Project Ideas for Raspberry Pi RemoteIoT
Feeling inspired? Here are some awesome project ideas to get your creative juices flowing:
Smart Home Automation
Create a system that lets you control your lights, thermostat, and appliances from anywhere in the world. Add voice control with Amazon Alexa or Google Assistant for an extra touch of convenience.
Personal Weather Station
Set up a weather station in your backyard to monitor temperature, humidity, wind speed, and more. Share your data with local weather enthusiasts or use it to optimize your gardening routine.
Remote-Controlled Robot
Build a robot that you can control via your phone or computer. Equip it with a camera and sensors to explore hard-to-reach places or assist with tasks around the house.
Troubleshooting Common Issues
Even the best-laid plans can hit a snag. Here are some common issues you might encounter and how to fix them:
Problem: Raspberry Pi Won’t Boot
Solution: Make sure your microSD card is properly inserted and that your power supply is sufficient. If the issue persists, try re-flashing the operating system.
Problem: Wi-Fi Connection Drops
Solution: Check your Wi-Fi settings and ensure your Raspberry Pi is within range of your router. You might also want to consider using Ethernet for a more stable connection.
Security Tips for Your RemoteIoT Projects
With great power comes great responsibility. Here are some security tips to keep your Raspberry Pi RemoteIoT setup safe:
- Change Default Passwords: Don’t leave your Raspberry Pi vulnerable by using the default login credentials.
- Use a Firewall: A firewall can help protect your device from unauthorized access.
- Keep Software Updated: Regularly update your operating system and applications to patch any security vulnerabilities.
Expanding the Capabilities of Your Raspberry Pi
Once you’ve mastered the basics, it’s time to take your Raspberry Pi RemoteIoT projects to the next level. Here are some ways to expand your setup:
Add-On Boards
There are tons of add-on boards available that can enhance the functionality of your Raspberry Pi. From camera modules to touchscreens, the options are endless.
Cloud Integration
Connect your Raspberry Pi to cloud services like AWS or Microsoft Azure to store and analyze data. This can be especially useful for large-scale IoT projects.
Industry Uses of Raspberry Pi RemoteIoT
Raspberry Pi RemoteIoT isn’t just for hobbyists—it’s making waves in various industries. Here are a few examples:
Healthcare
Hospitals are using Raspberry Pi RemoteIoT to monitor patients’ vital signs and alert staff to any abnormalities. This can improve patient care and reduce the workload on medical professionals.
Agriculture
Farmers are leveraging Raspberry Pi RemoteIoT to optimize crop yields by monitoring soil moisture, weather conditions, and other factors. This leads to more sustainable farming practices.
Conclusion: Your Next Steps
And there you have it—your ultimate guide to Raspberry Pi RemoteIoT. From setting up your device to exploring project ideas, we’ve covered everything you need to know to get started. Remember, the key to success is experimentation and learning from your mistakes.
So what are you waiting for? Grab your Raspberry Pi, roll up your sleeves, and start building your dream projects. And don’t forget to share your creations with the world—your fellow makers would love to see what you’ve come up with!
Feel free to leave a comment below or check out our other articles for more tech tips and tricks. Happy building, and may the IoT force be with you!
Article Recommendations
- Kannada Movies On Movierulz Watch Free Or Beware Year
- Kannada Movie Insights More What We Found And Didnt


Detail Author:
- Name : Karlie Stokes
- Username : freeda94
- Email : dax.mayer@hotmail.com
- Birthdate : 2004-02-09
- Address : 66850 Kris Park Apt. 043 Klockomouth, AK 86632-0926
- Phone : (364) 984-1200
- Company : Welch-Murphy
- Job : Vending Machine Servicer
- Bio : Officiis voluptate rem sint in. Voluptatem incidunt laudantium labore mollitia perspiciatis vel voluptas sunt. Et architecto culpa necessitatibus deserunt quae amet.
Socials
instagram:
- url : https://instagram.com/corkery1978
- username : corkery1978
- bio : Enim totam minima officia ut aspernatur quidem nihil vel. Sed et alias mollitia neque.
- followers : 6382
- following : 1872
linkedin:
- url : https://linkedin.com/in/jevon.corkery
- username : jevon.corkery
- bio : Sequi rerum aut quis placeat.
- followers : 1246
- following : 2577
facebook:
- url : https://facebook.com/corkeryj
- username : corkeryj
- bio : Consequatur quo itaque ullam voluptas voluptatem earum architecto quis.
- followers : 6756
- following : 1235
twitter:
- url : https://twitter.com/jevon9199
- username : jevon9199
- bio : Fugit assumenda et molestiae quibusdam velit nam. Ea quia aperiam praesentium quis minus beatae tenetur. Sunt libero sed necessitatibus cupiditate omnis vero.
- followers : 336
- following : 1261
tiktok:
- url : https://tiktok.com/@jevoncorkery
- username : jevoncorkery
- bio : Mollitia dolores facilis quo reprehenderit.
- followers : 3347
- following : 2651
