
Access IoT Devices Remotely Via SSH Web Free Using AWS
So, you want to remotely access IoT devices over SSH using a web interface for free with AWS? Well, buckle up, because we’re diving deep into the world of cloud computing, IoT, and secure connections. In this day and age, being able to control your smart devices from anywhere is not just cool—it’s essential. Whether you’re managing home automation systems, industrial sensors, or even just your coffee machine, having remote access is a game-changer. Let’s explore how you can do it without breaking the bank.
Now, here’s the deal: AWS offers some seriously powerful tools that make this possible. You don’t need to be a tech wizard (though it helps) to set up a secure SSH connection through a web browser. This article will walk you step by step through the process, ensuring that your IoT devices remain secure while giving you the freedom to access them whenever and wherever you need. So, let’s get started!
But wait—before we dive in, let’s clear something up. When we talk about "remotely access IoT devices SSH web free AWS," we’re talking about leveraging Amazon Web Services (AWS) to create a free-tier environment where you can establish an encrypted SSH tunnel to your IoT gadgets. It’s like giving your devices a secret handshake that only you can unlock, all from the comfort of your web browser.
- Movierulz Why You Should Avoid This Piracy Site Safe Alternatives
- Kannada Movies Online Watch Latest Releases Movierulz Updates
Why Remote Access to IoT Devices Matters
In today’s hyper-connected world, IoT devices are everywhere. From smart thermostats to industrial machinery, these devices generate tons of valuable data. But what good is that data if you can’t access it when you need it? That’s why remote access is so important. By setting up a secure SSH connection, you can monitor, manage, and control your devices no matter where you are. And with AWS, you can do it all for free—at least within the free-tier limits.
Here’s why remote access via SSH is such a big deal:
- Security: SSH encrypts your connection, protecting your devices from unauthorized access.
- Flexibility: Access your devices from any device with a web browser—no need for fancy software.
- Cost-Effective: AWS offers a free tier that lets you experiment and set up your environment without spending a dime.
- Scalability: Once you’ve got the basics down, you can scale up to handle more complex setups.
So, whether you’re a hobbyist tinkering with Raspberry Pi or a professional managing a fleet of industrial sensors, remote SSH access is a must-have skill.
- Movierulz 2025 Watch Telugu Movies Online Is It Legal
- Vegamovies More Streaming Guide Errors Alternatives
Understanding SSH and Its Role in IoT
SSH, or Secure Shell, is like a digital Swiss Army knife for secure communication. It allows you to connect to remote devices, transfer files, and execute commands—all over an encrypted connection. For IoT devices, SSH is especially useful because it provides a secure way to manage and interact with your gadgets without exposing them to the open internet.
Here’s how SSH works in the context of IoT:
- SSH creates a secure tunnel between your local machine (or web browser) and the IoT device.
- It encrypts all data transmitted between the two endpoints, making it nearly impossible for hackers to intercept.
- You can use SSH to log in to your device, run scripts, update firmware, and perform other administrative tasks—all remotely.
Now, when you combine SSH with AWS, you get a powerful combination. AWS provides the infrastructure to host your SSH server, while SSH ensures that your connection remains secure. It’s like having a fortress with a secret passageway—only you know how to get in.
Setting Up AWS for Free
Amazon Web Services (AWS) is like the Swiss Army knife of cloud computing. It offers a ton of services, from virtual servers to databases, and the best part? You can use many of these services for free under the AWS Free Tier. For our purposes, we’ll be using EC2 instances to host our SSH server.
Here’s a quick rundown of how to set up AWS:
Step 1: Create an AWS Account
First things first, you’ll need to sign up for an AWS account. Head over to the AWS website and follow the prompts to create your account. Don’t worry—it’s free, and you won’t be charged unless you go beyond the free-tier limits.
Step 2: Launch an EC2 Instance
Once your account is set up, navigate to the EC2 dashboard. From there, click on “Launch Instance” and choose an Amazon Machine Image (AMI). For beginners, the Amazon Linux 2 AMI is a great choice. Be sure to select a free-tier eligible instance type, like t2.micro.
Step 3: Configure Security Settings
Security groups are like firewalls for your EC2 instance. You’ll need to configure them to allow SSH traffic. To do this, add a rule that allows inbound traffic on port 22 (the default SSH port). You can restrict access to specific IP addresses for added security.
And that’s it! With your EC2 instance up and running, you’re ready to move on to the next step.
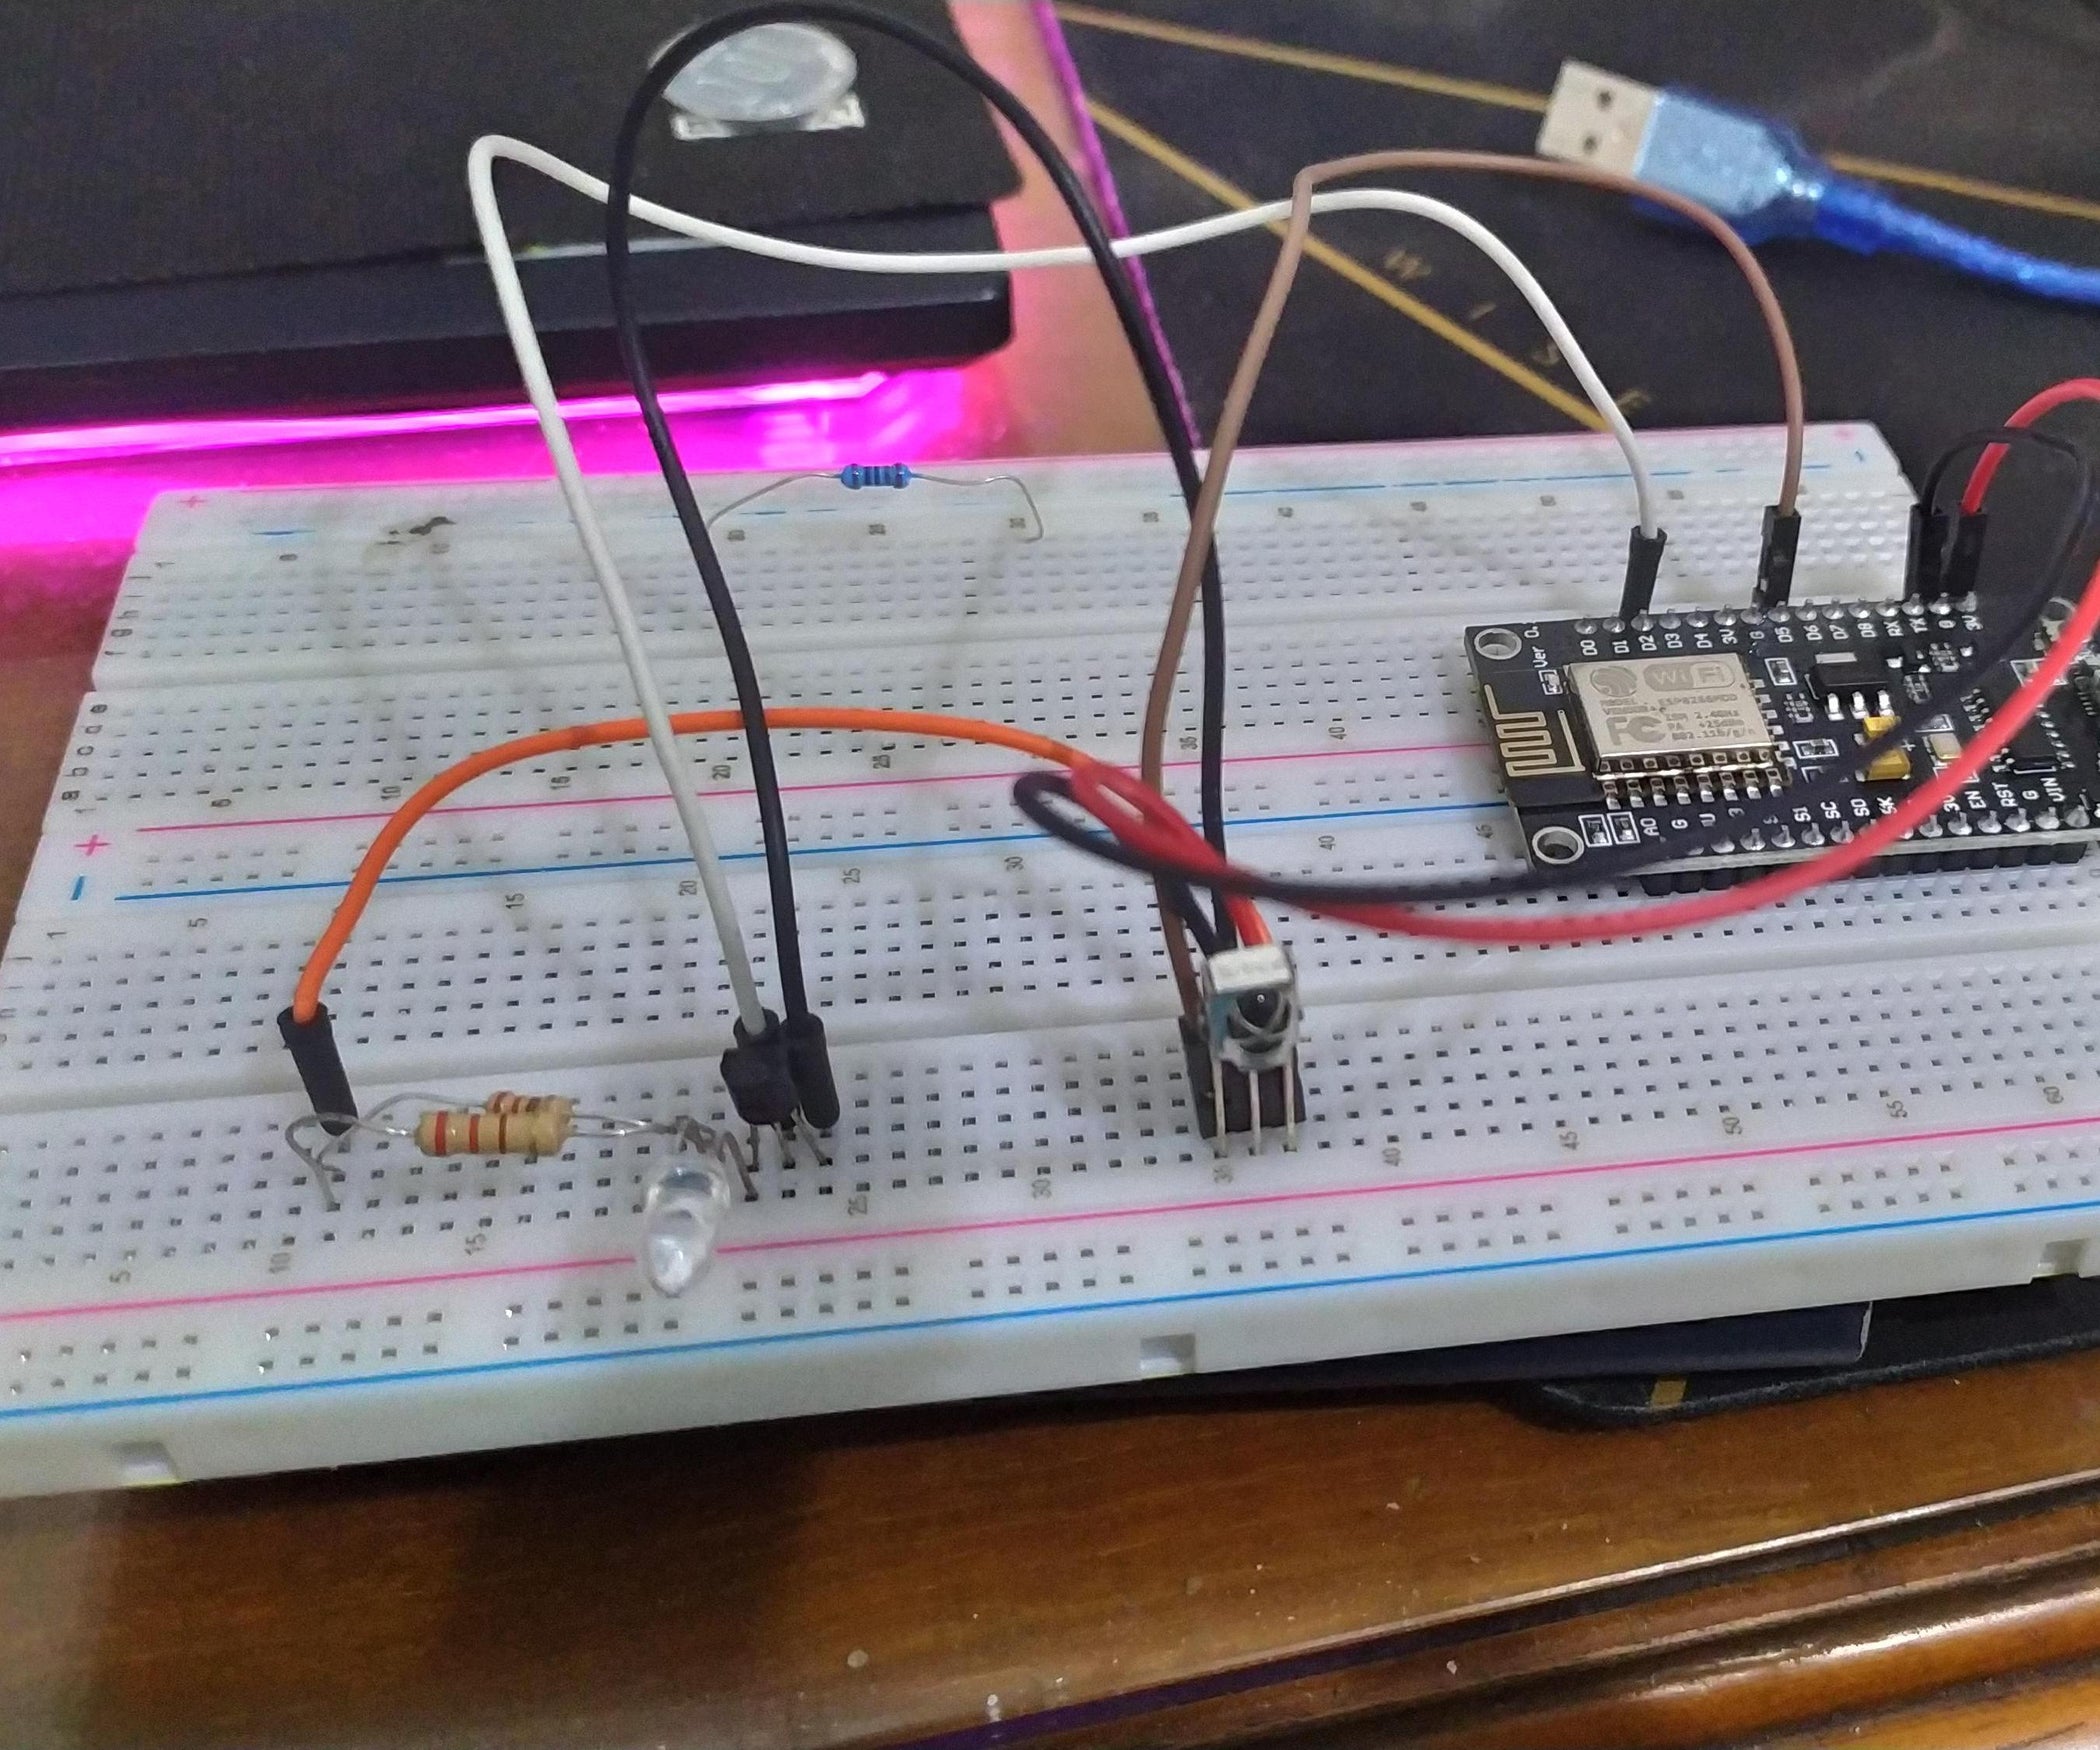
Connecting IoT Devices to AWS
Now that your AWS environment is set up, it’s time to connect your IoT devices. This is where things get interesting. Depending on the type of IoT device you’re working with, the process may vary slightly. However, the general steps are the same:
- Install SSH on Your Device: Most IoT devices come with SSH pre-installed, but if not, you’ll need to install it manually.
- Set Up Port Forwarding: Configure your router to forward traffic from the public IP address to your IoT device’s private IP address.
- Connect to AWS: Use your EC2 instance as a bridge between your local network and the internet, ensuring that your IoT device remains secure.
For example, if you’re working with a Raspberry Pi, you can use the following command to connect via SSH:
ssh pi@your-ec2-public-ip
Replace “your-ec2-public-ip” with the actual public IP address of your EC2 instance. Simple, right?
Creating a Web-Based SSH Interface
So, you’ve got your IoT devices connected to AWS via SSH. But what if you want to access them through a web browser? Enter web-based SSH clients. These tools allow you to manage your devices from any device with a browser—no need to install additional software.
Option 1: Use WebSSH
WebSSH is a lightweight web-based SSH client that’s perfect for our purposes. To use it, simply navigate to the WebSSH website and enter your EC2 instance’s public IP address. From there, you’ll be able to connect to your IoT devices as if you were using a traditional SSH client.
Option 2: Set Up a Custom Web Interface
If you’re feeling adventurous, you can create your own custom web interface using tools like Node.js and Socket.IO. This gives you full control over the look and feel of your interface, but it requires a bit more technical expertise.
Regardless of which option you choose, a web-based SSH interface makes managing your IoT devices easier than ever.
Best Practices for Securing Your IoT Devices
Security is paramount when it comes to IoT devices. After all, you don’t want some random hacker taking control of your smart fridge, do you? Here are a few best practices to keep your devices safe:
- Use Strong Passwords: Avoid using default passwords and opt for strong, unique ones instead.
- Enable Two-Factor Authentication: Add an extra layer of security by requiring a second form of verification.
- Regularly Update Firmware: Keep your devices up to date with the latest security patches.
- Limit Access: Restrict SSH access to trusted IP addresses only.
By following these best practices, you can ensure that your IoT devices remain secure, even when accessed remotely.
Scaling Your IoT Setup
Once you’ve got the basics down, you can start thinking about scaling your IoT setup. AWS makes it easy to expand your infrastructure as your needs grow. Here are a few ideas to consider:
- Add More Devices: Connect additional IoT devices to your EC2 instance and manage them all from a single dashboard.
- Use Auto Scaling: Set up auto-scaling groups to automatically adjust the number of EC2 instances based on demand.
- Implement Load Balancing: Distribute traffic across multiple instances to ensure high availability.
With AWS, the possibilities are virtually endless. Whether you’re managing a handful of smart home devices or an entire fleet of industrial sensors, you can scale your setup to meet your needs.
Troubleshooting Common Issues
Even the best-laid plans can go awry. If you run into issues while setting up your remote SSH connection, here are a few troubleshooting tips:
Issue 1: Can’t Connect to EC2 Instance
Make sure your security group allows inbound traffic on port 22. Also, double-check that you’re using the correct public IP address.
Issue 2: SSH Connection Drops
This could be due to network instability or idle timeouts. Try increasing the idle timeout setting on your EC2 instance.
Issue 3: Web-Based SSH Fails
Ensure that your web-based SSH client is compatible with your browser. If all else fails, try using a different client.
By addressing these common issues, you can keep your IoT setup running smoothly.
Conclusion: Take Control of Your IoT Devices
And there you have it—a comprehensive guide to remotely accessing IoT devices via SSH using AWS. From setting up your AWS environment to creating a web-based SSH interface, we’ve covered everything you need to know to take control of your smart devices.
Remember, security is key. Always use strong passwords, enable two-factor authentication, and keep your firmware up to date. And if you’re feeling adventurous, don’t be afraid to scale your setup and explore the full potential of AWS.
Now it’s your turn. Have you successfully set up remote SSH access for your IoT devices? Share your experiences in the comments below, and don’t forget to check out our other articles for more tips and tricks. Happy tinkering!
Table of Contents
- Why Remote Access to IoT Devices Matters
- Understanding SSH and Its Role in IoT
- Setting Up AWS for Free
- Connecting IoT Devices to AWS
- Creating a Web-Based SSH Interface
- Best Practices for Securing Your IoT Devices
- Scaling Your IoT Setup
- Troubleshooting Common Issues
- Conclusion: Take Control of Your IoT Devices
Article Recommendations
- Best Kannada Movies Songs Stream Download Now
- Movierulz Is Free Movie Streaming Safe Analysis Alternatives

Detail Author:
- Name : Robb Johns
- Username : amanda.bartell
- Email : lennie.stiedemann@leuschke.com
- Birthdate : 2005-03-24
- Address : 5603 Camilla Drives New Alberto, IL 05270
- Phone : 1-479-990-1993
- Company : Macejkovic, Bernier and Blick
- Job : Desktop Publisher
- Bio : Eos cum sit accusamus nisi non quo sed totam. Aut harum numquam nisi qui vero accusamus id rerum. Eveniet magni officiis non et minima. Inventore sapiente odit officiis vel sint.
Socials
twitter:
- url : https://twitter.com/lucious_id
- username : lucious_id
- bio : Temporibus qui deleniti atque non. Id saepe odio deserunt id. Quis et quas rerum quod. Nihil laboriosam veritatis id saepe et est.
- followers : 6225
- following : 295
facebook:
- url : https://facebook.com/lucious_friesen
- username : lucious_friesen
- bio : Totam quis ut rerum nulla exercitationem quo odit.
- followers : 4394
- following : 810
instagram:
- url : https://instagram.com/lucious_dev
- username : lucious_dev
- bio : Et eveniet modi deleniti. Unde veniam quisquam deleniti voluptatum. Eum ducimus modi sit et.
- followers : 1182
- following : 1543
linkedin:
- url : https://linkedin.com/in/luciousfriesen
- username : luciousfriesen
- bio : Consequatur corrupti in sed quibusdam.
- followers : 937
- following : 353
